Can microcement really go over tiles?
Yes. Microcement bonds very well to ceramic and porcelain tiles, provided the substrate is stable. The tiles are degreased and roughened, the joints are filled, and a bonding primer goes on top. Because the total build up is only two to three millimetres, doors, thresholds, taps and drains stay where they are.
How it is done
- Inspection. We check for loose tiles and a dry substrate. Loose tiles are fixed first.
- Preparation. Degreasing, sanding, filling joints and applying primer. The shower corner gets an extra waterproofing layer.
- Base layer with reinforcing mesh. This absorbs stress and prevents the joint pattern from showing through.
- Two finishing layers in the chosen colour, applied by hand and sanded in between.
- Sealing. Two coats of two component top coat, matt or satin. Only then is the bathroom waterproof.
Allow four to six working days including drying times. After the last coat you can enter the bathroom after 24 hours and shower after about a week.
Advantages of microcement in the bathroom
- No joints, so no mould in the grout and easy to keep clean.
- No demolition, less dust and a shorter lead time.
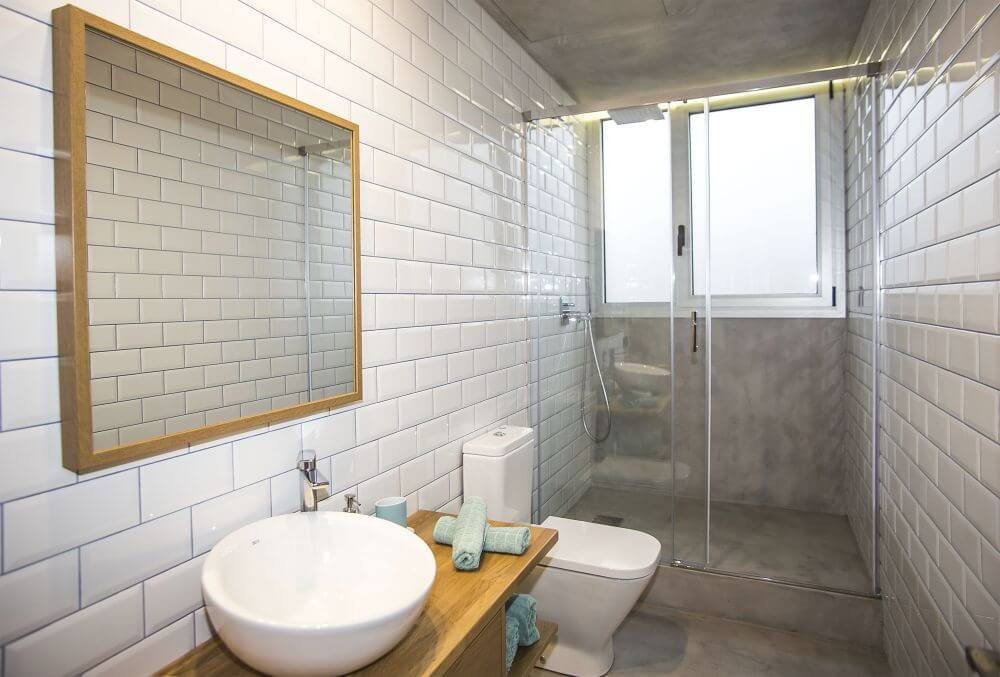
- Waterproof after sealing, including the walk in shower.
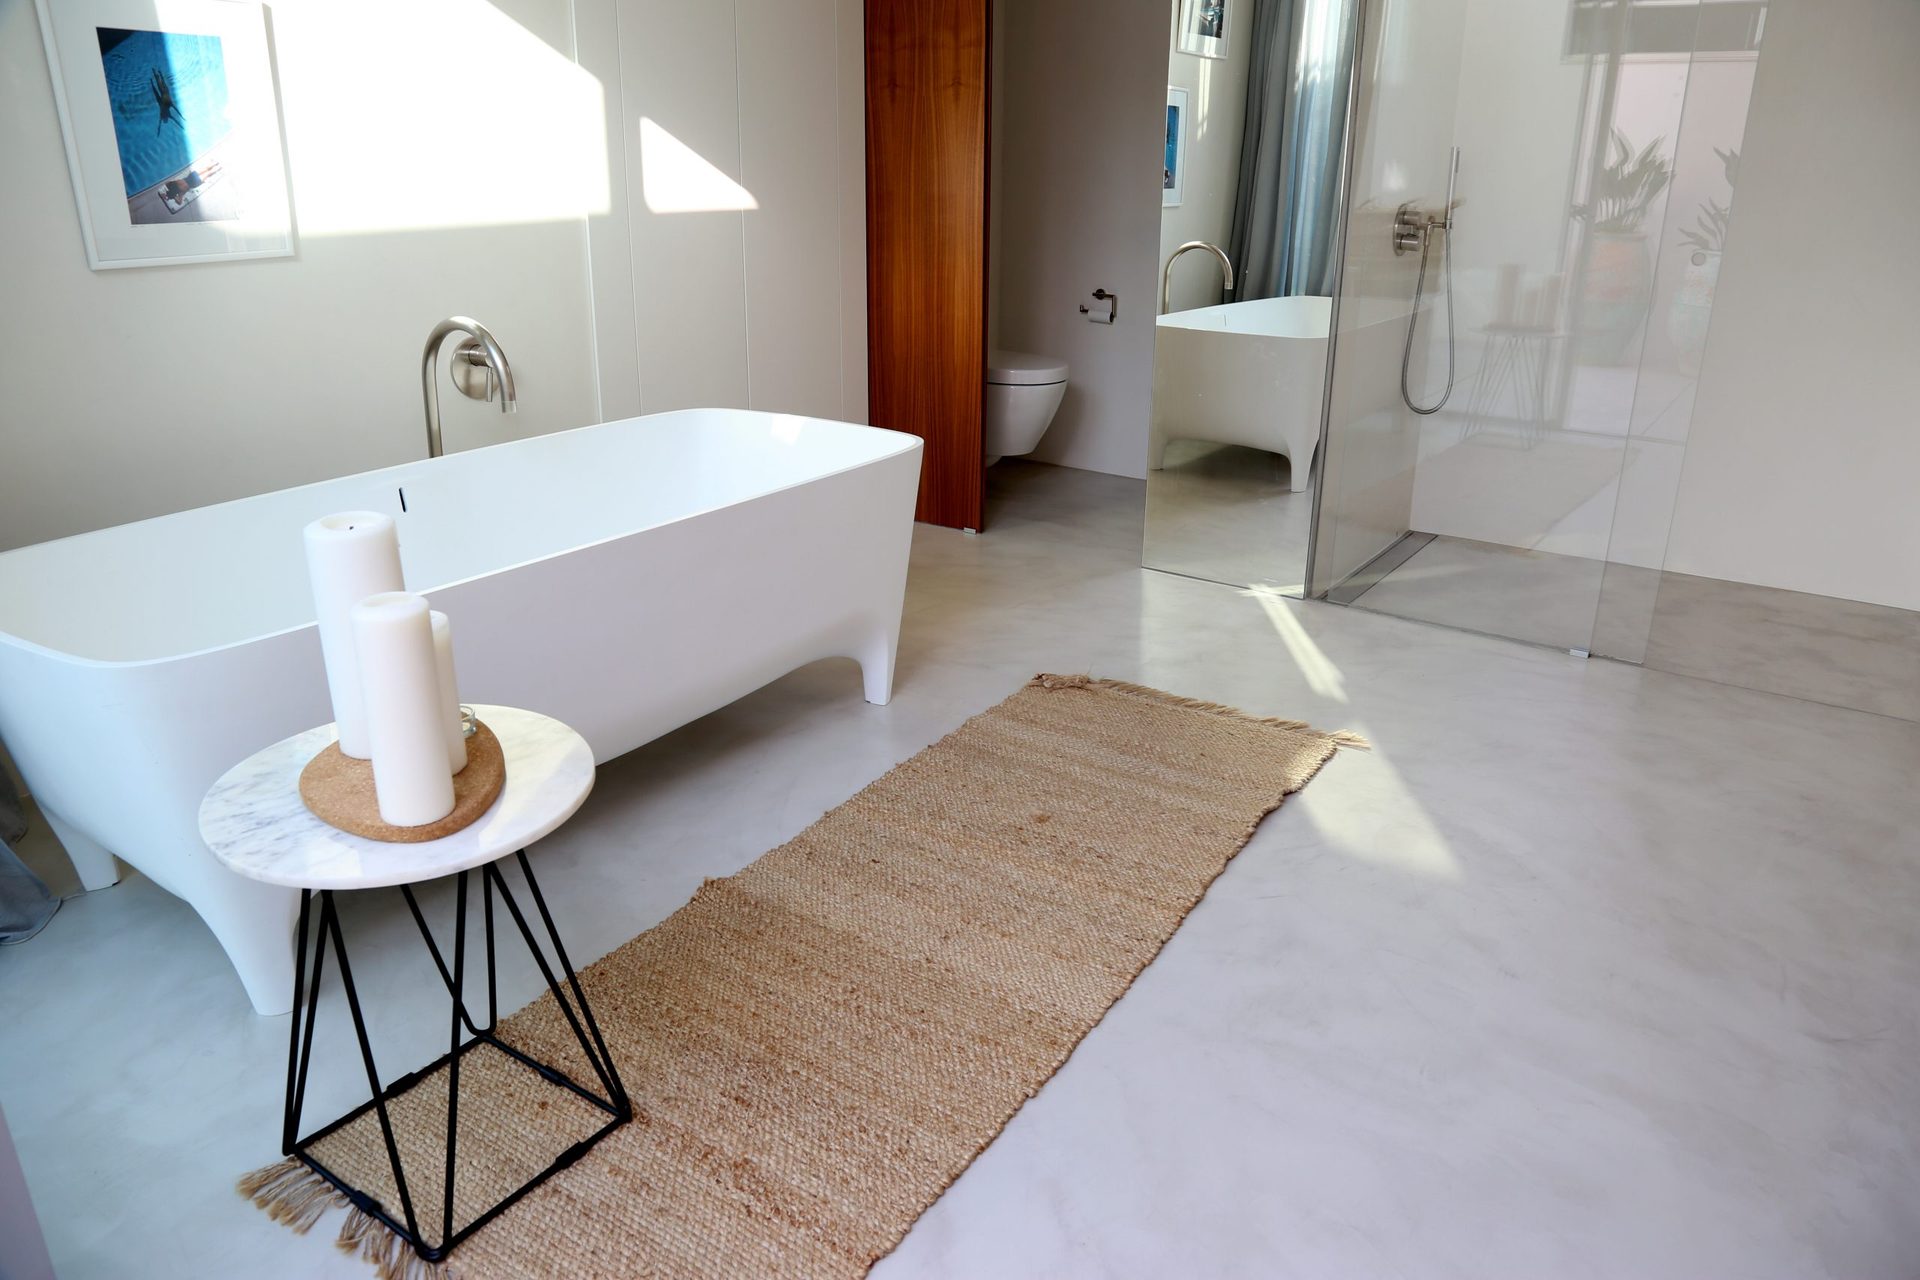
- One colour across floor, walls, vanity unit and even the bath.
- Forty colours, from warm beige to anthracite.
Disadvantages and points of attention
- Craftsmanship is essential. A badly applied top coat lets water through.
- Microcement is not suitable over loose or damp tiles.
- You will want the top coat refreshed after a number of years, especially in the shower.
- Aggressive cleaners damage the top coat. Neutral soap is enough.
What does a microcement bathroom cost?
The price depends on the number of square metres, the number of corners and details, and whether a shower tray or niche is included. Read more on our bathroom page, and use the quote form for an indication within one working day.